I’m Mark Lester Dampios, a cybersecurity professional from the Philippines with approximately eight years of experience in offensive security, penetration testing, ethical hacking, digital forensics, reverse engineering, and malware analysis. My work focuses on identifying weaknesses in complex systems, understanding adversarial techniques, and helping organizations strengthen their security posture against evolving cyber threats.
I hold a Master’s degree in Information Technology and am currently pursuing a Master of Science in Information Security Engineering at the SANS Technology Institute in Maryland, USA, fully funded through the Paller and SANS scholarship. I also hold CISSP, OSCP, OSED, and multiple GIAC certifications, including the GIAC Security Expert designation, GSE #414.
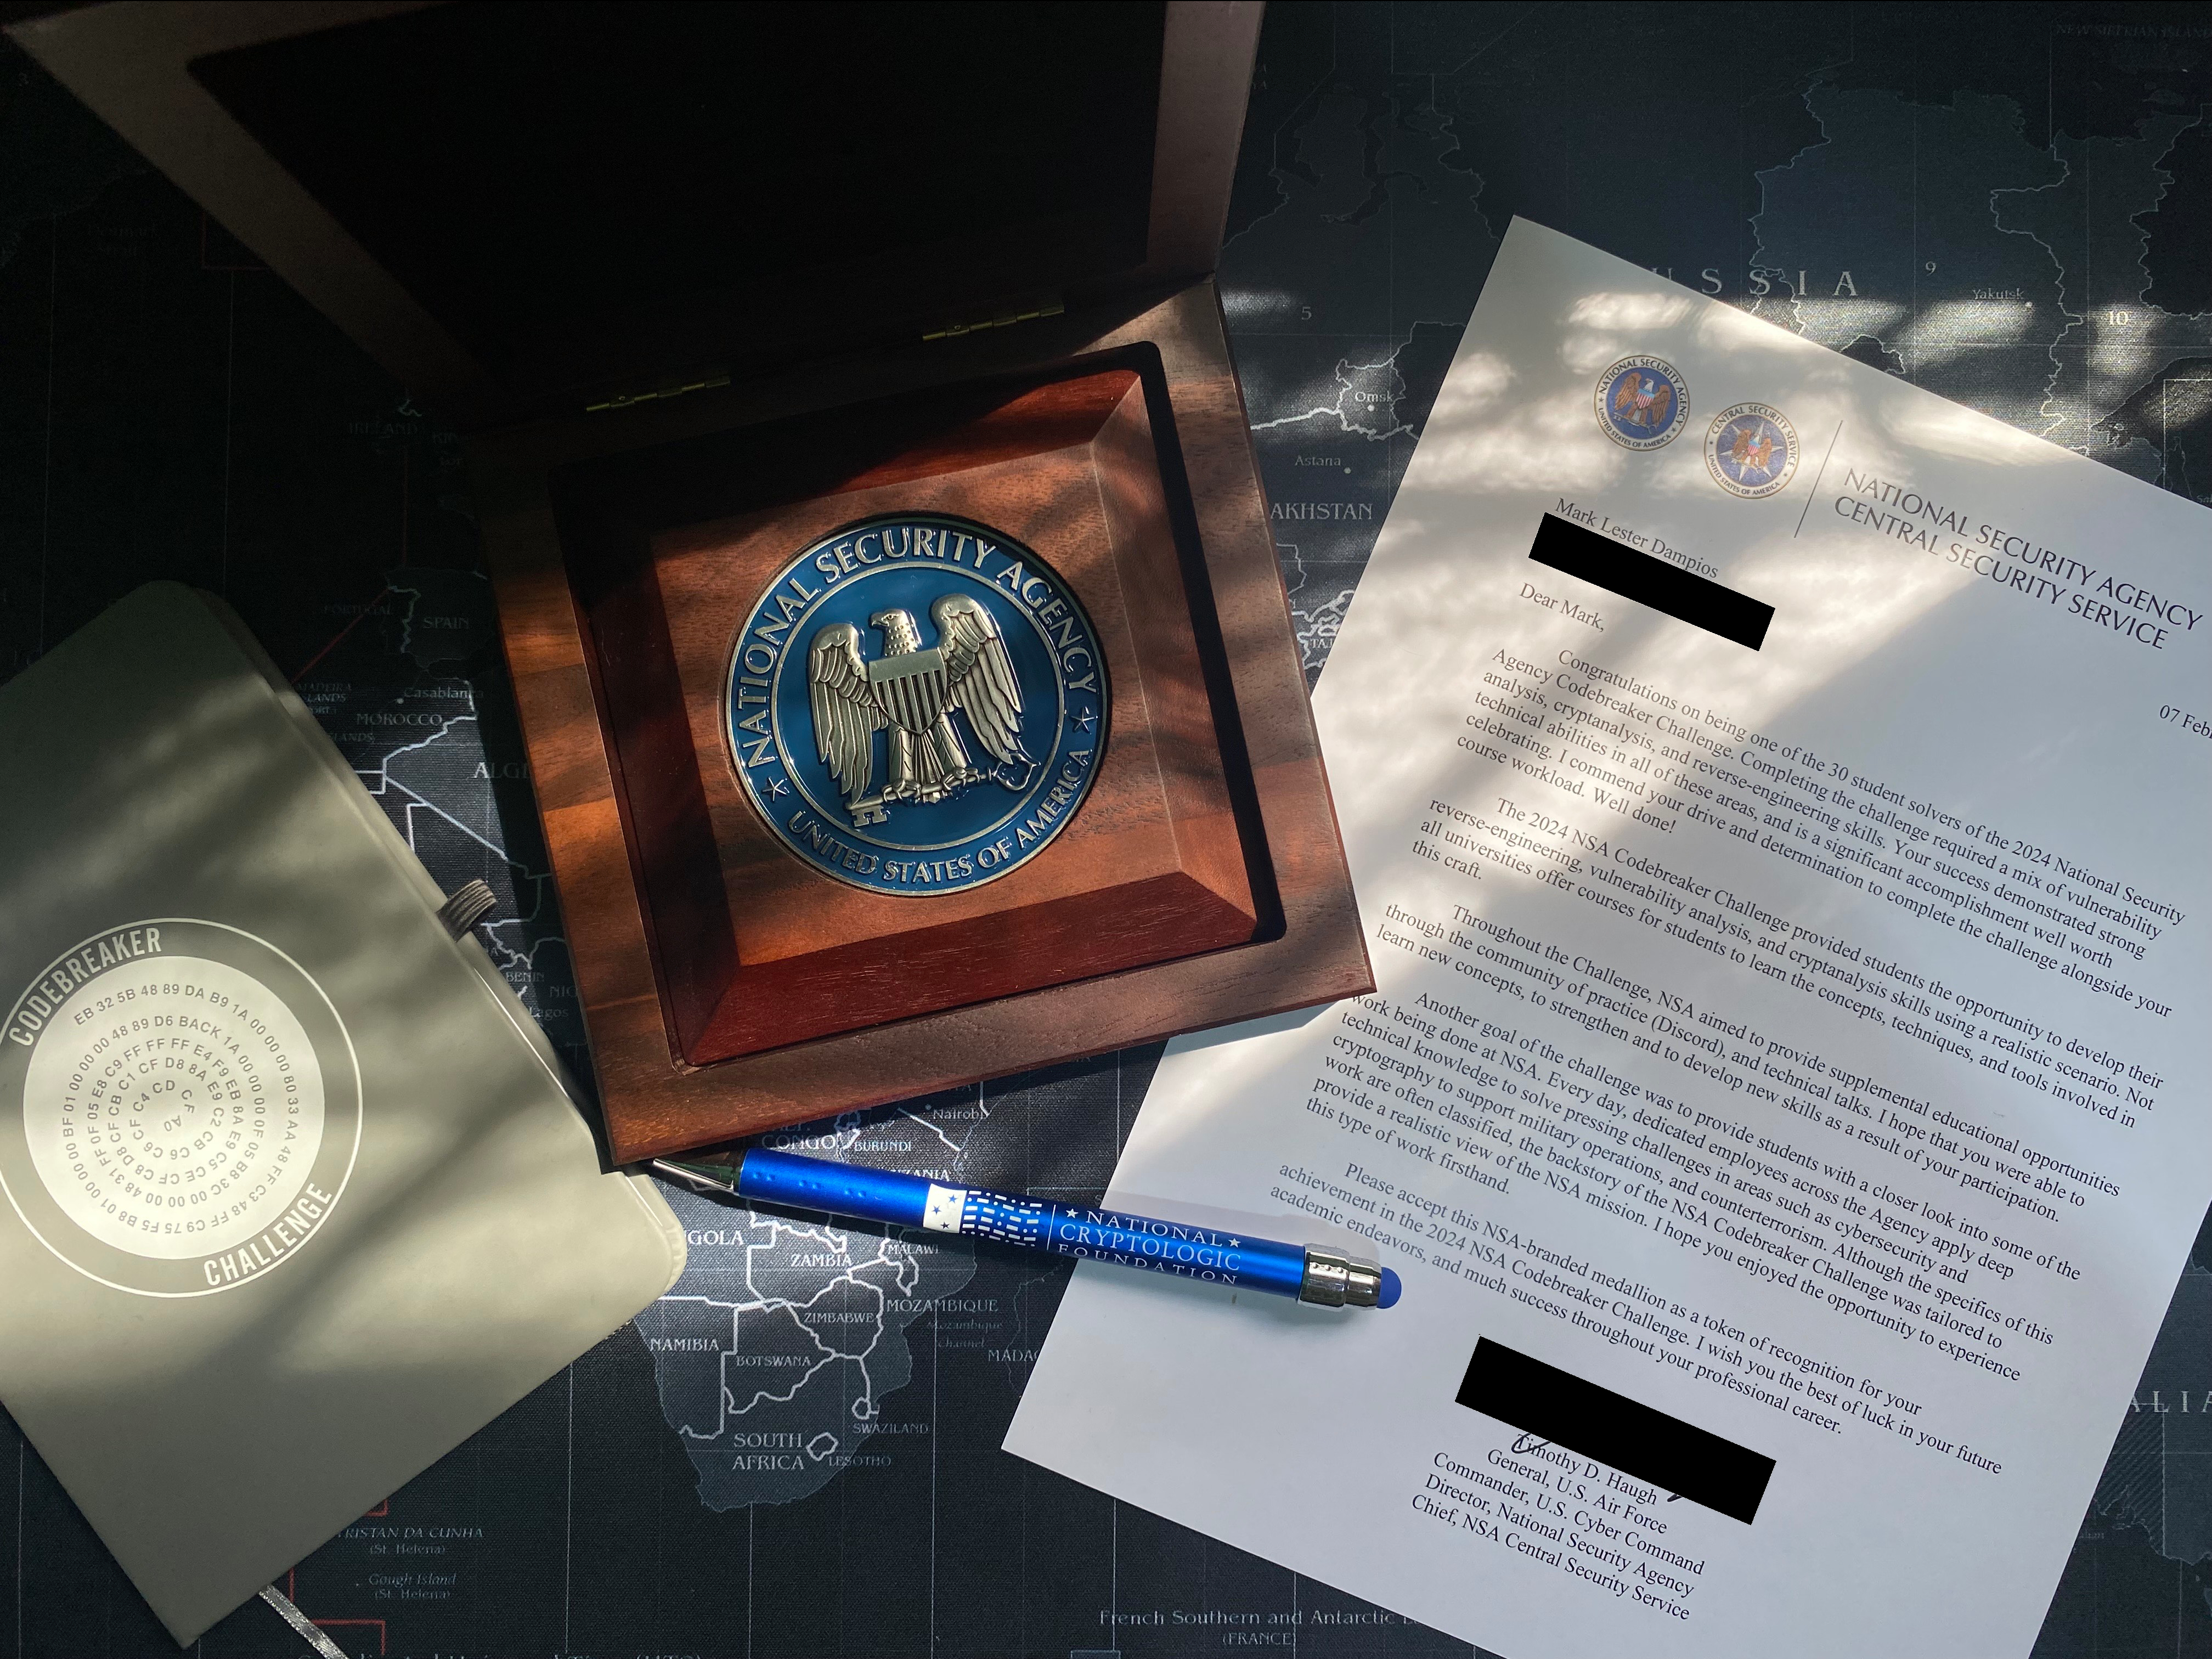
Beyond professional practice, I actively compete in cybersecurity CTFs, where I sharpen my skills in exploitation, forensics, reverse engineering, and problem-solving under pressure. I am also currently pursuing a PhD in Computer Science at the Technological Institute of the Philippines and a Juris Doctor degree at Manila Law College, allowing me to bridge cybersecurity, advanced computing, research, governance, and law.
My career is driven by lifelong learning, technical excellence, and a strong commitment to securing digital ecosystems. I aim to contribute to organizations that value deep technical expertise, disciplined research, and a forward-looking approach to cybersecurity.
The lists above includes only my public credentials. To request a copy of my full credentials and/or my Resume, kindly send me an email at [email protected]. Thanks!